Power Automate - Email Trigger Demo
Capture Email Body from a New Email Trigger
This tutorial will create a new Power Automate Flow triggered by a new email in the account ib-notification@8mlw67.onmicrosoft.com. The email body will be captured converted to plain text and stored in a Compose object
Create a new Power Automate Flow
- Go to https://make.powerautomate.com/
- Click
Createfrom the left navigation pane - Click
Instant cloud flowfrom theStart from blankcategory - Click the
Skipbutton - Give a name to the flow by renaming the
Untitledon the top-left corner of the screen. Set the nameNew-Email - Click
Add a triggerand search for new email - From under the
Office 365 Outlookgroup selectWhen a new email arrives (V3) - Click the
Change connectionto add a Target 365 account email - Click the
Add newbutton - Click the
Sign inbutton - On the new short browser windows login with the ib-notification@8mlw67.onmicrosoft.com account
- Collapse Trigger properties with
<icon
Add the Variable action
- Click
+toAdd an action - Search for
Initialize - Select
Initialize variablefrom theVariablegroup - Name: var_email_body
- Type: String
- In
Valueselect thePower-Automateicon to enter data from the previous step - Select
Body - Collapse Action properties with
<icon
Add the HTML to text action
- Click
+toAdd an anction - Search for
Html - From the
Content Conversiongroup selectHtml to text - Click
Create new - Click inside the
Contentfield and select thePower-Automateicon to enter data from the previous step - Select
var-email-bodyvariable - Collapse Action properties with
<icon
Add the Compose action
- Click
+toAdd an anction - Search for
Compose - Select 'Compose
from theData Operation` group - In
Inputsselect thePower-Automateicon to enter data from the previous step - Select the
The plain text content - Collapse Action properties with
<icon
Save and Test the Flow
Click the Save button to save the Flow. Click the <- Back arrow on the top left corner of the screen. The following pop-up appears:
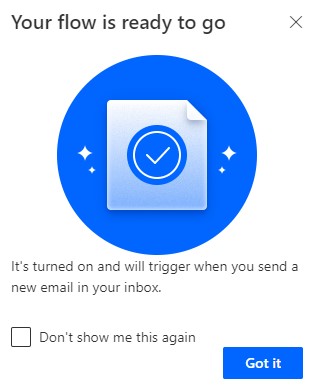
Click the Got it button. This is a trigger that is Automatically activated. So manually running it with the Test option will not work. The Automatic attribute can be viewed by clicking the My flows from the left navigation pane
Send an Email
We send an email
To: ib-notification@8mlw67.onmicrosoft.com From: salam@dcl-online.com Subject: Test Email Body: Test Email from salam@dcl-online.com
Check Flow history
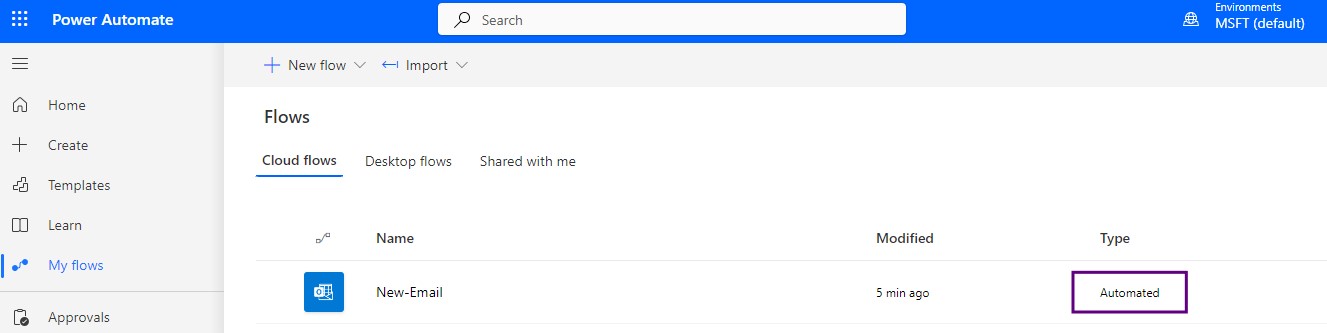
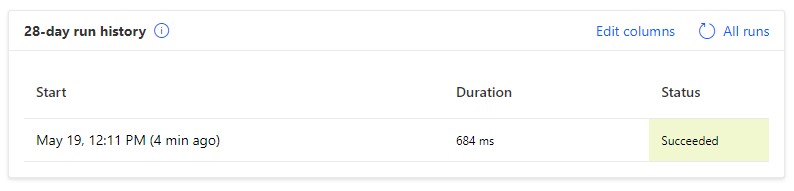
On the Power Automate home page, from My flows we click on the newly created New-Email flow. In the 28-day run history section, we see a new entry:
We click on the Date/Time entry below the Start column. We get the following page with a successful run notification
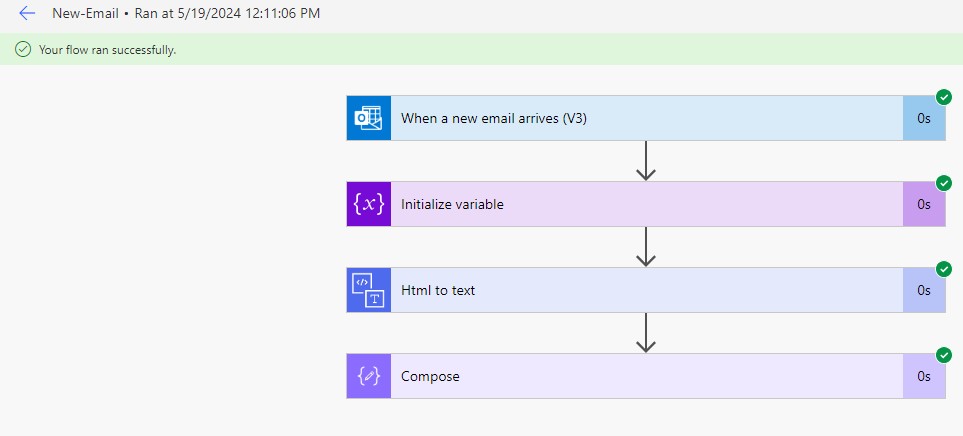
We click the Compose action to check its detail
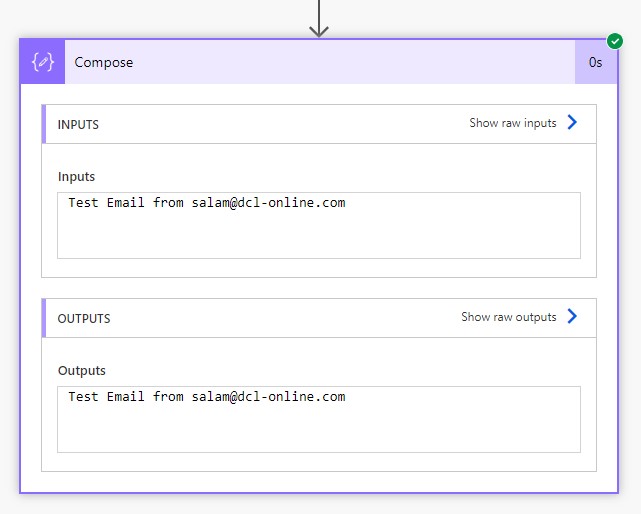
The Email message body has been converted to plain text and stored here.